Debian 操作系统安装教程
下载时请看好自己电脑或服务器芯片架构。我笔记本的是 Apple M1 芯片。所以我以下的教程都是基于 arm 架构的。其它的架构的也是类似。
这里我选择下载 debian-11.7.0-arm64-netinst.iso 版本的ISO系统。因parallels Desktop只支持 10、11的GUN系统。接下来开始安装操作系统。
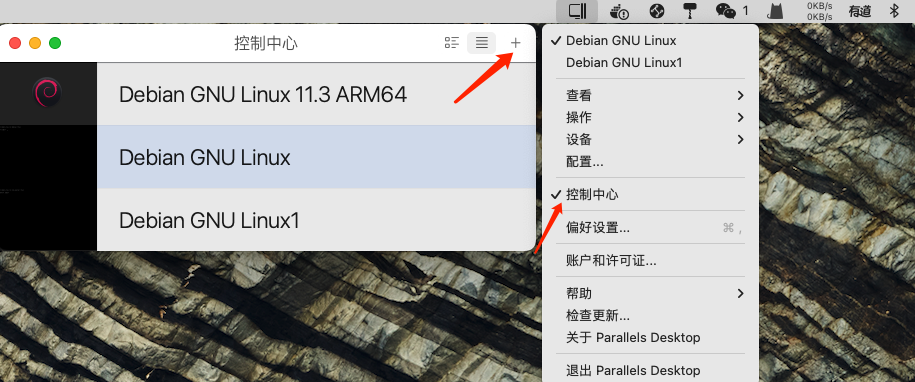
打开 parallels Desktop 的控制中心,点击新建:
选择 安装Windows 或 其它操作系统(从 DVD或镜像文件) 点击继续

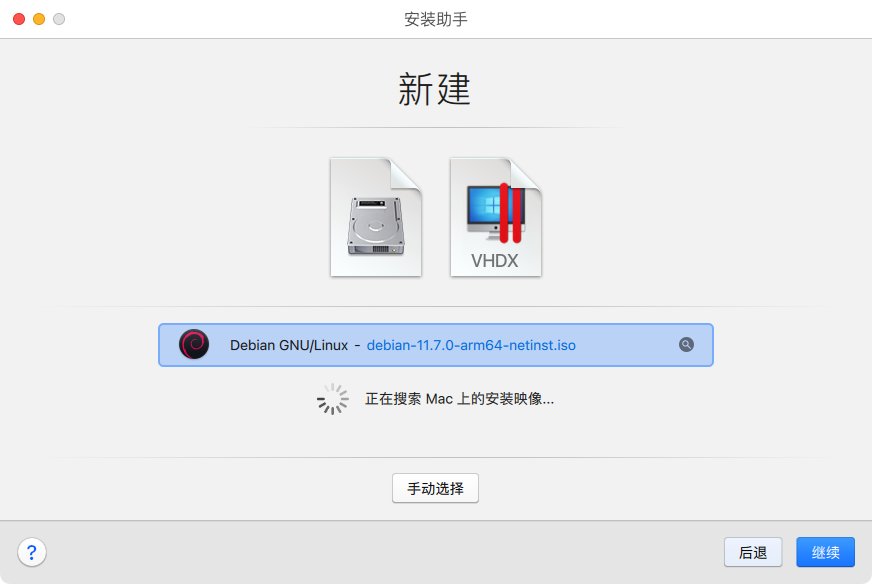
选择 Debian ISO 镜像选择继续
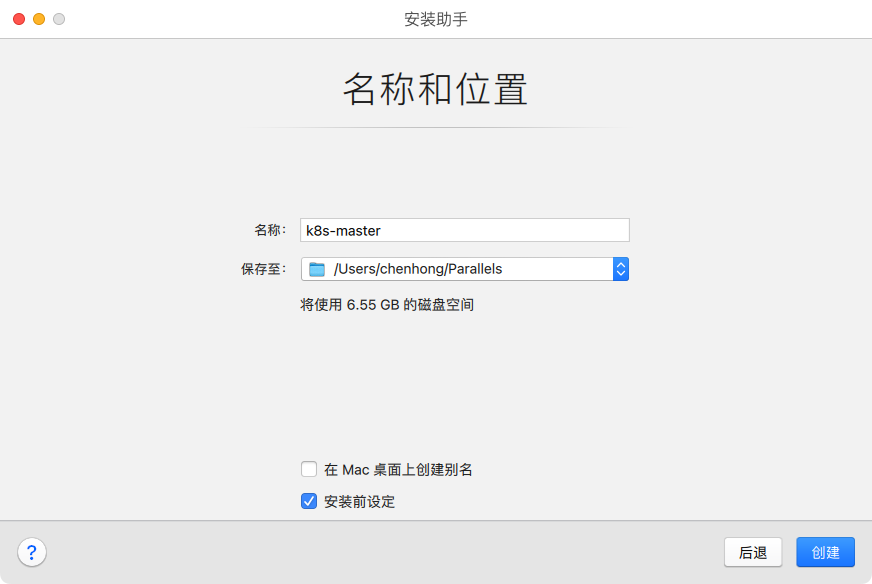
给虚拟机起个名字
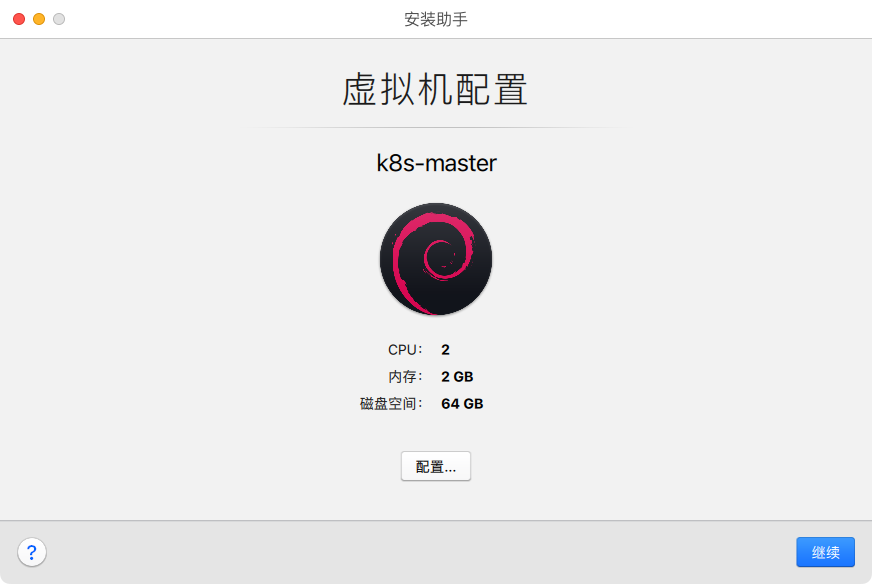
配置虚拟机硬件,CPU,内核

点击继续
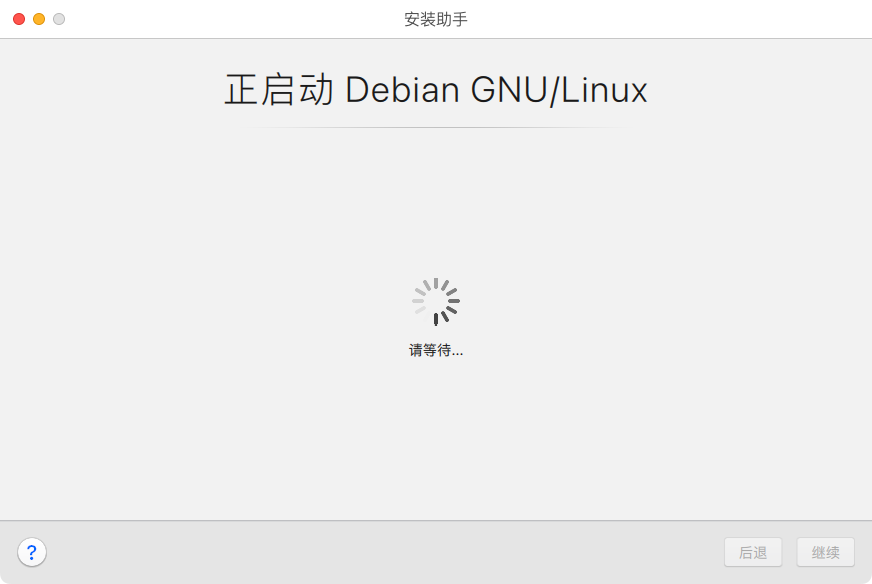
等待一会
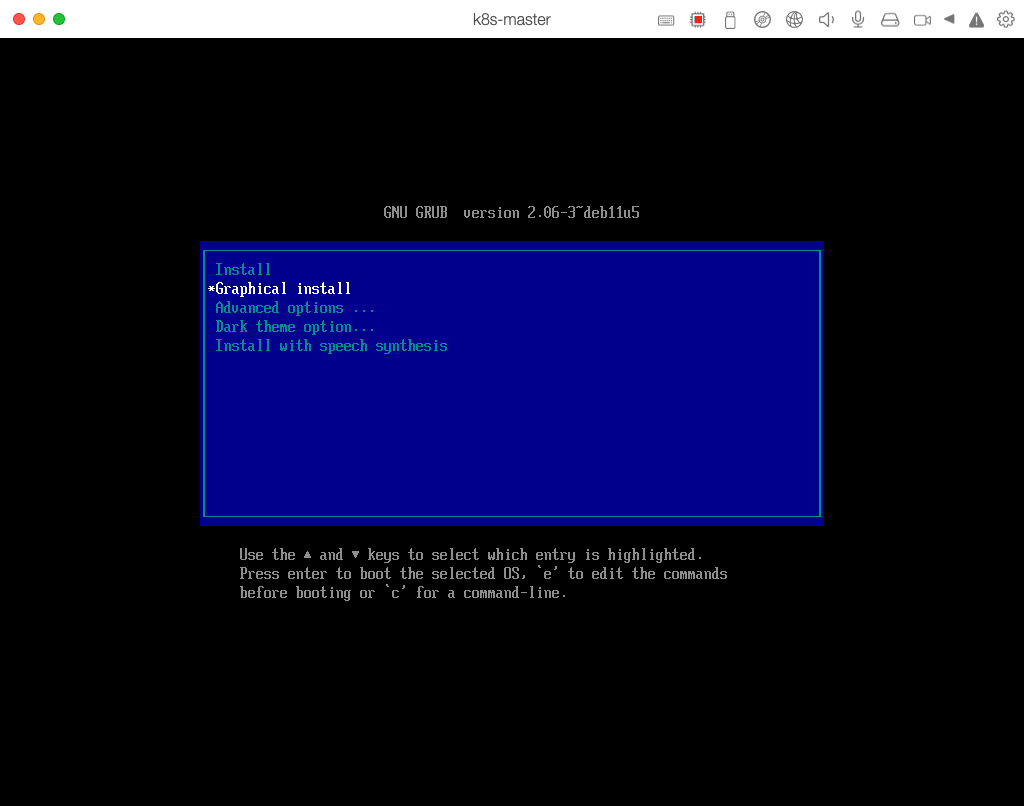
选择第二项,图形化安装
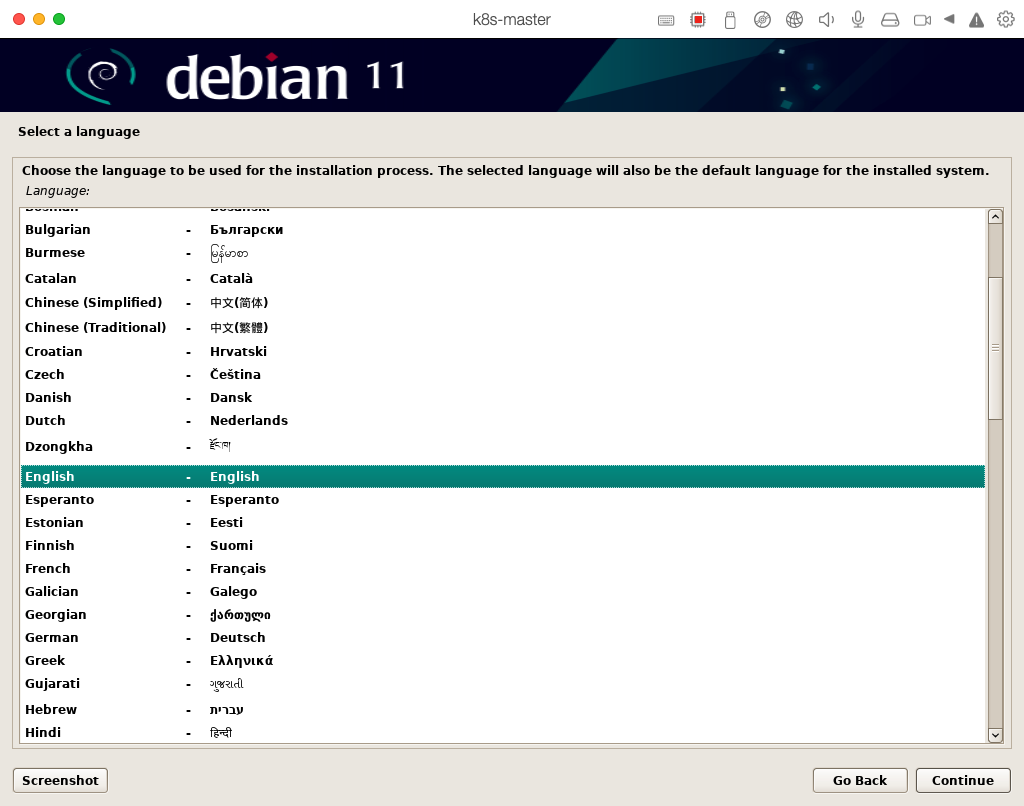
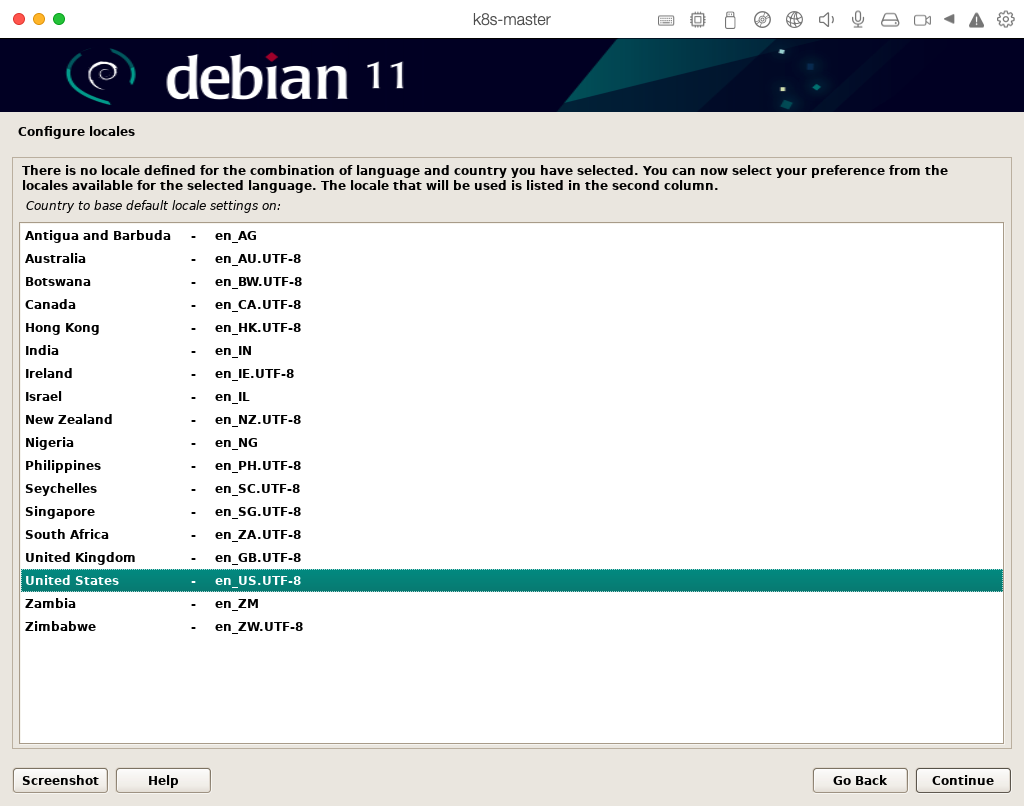
默认语言选择英文,点击 continue 。中文安装完后,会有乱码的情况
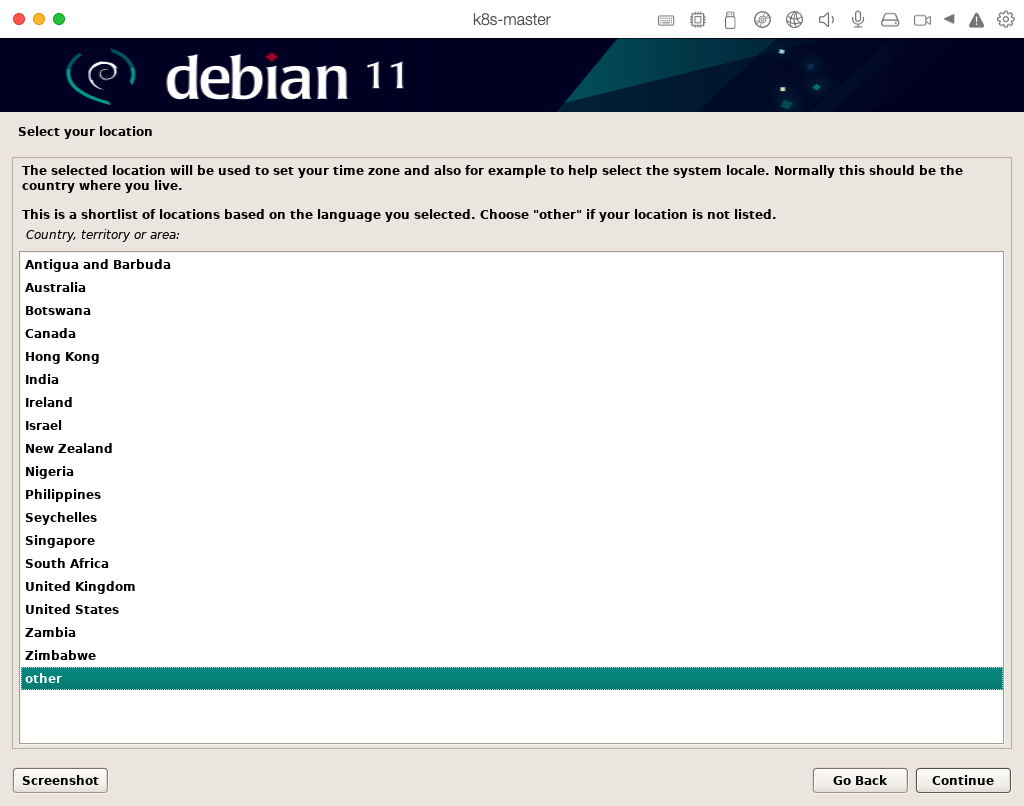
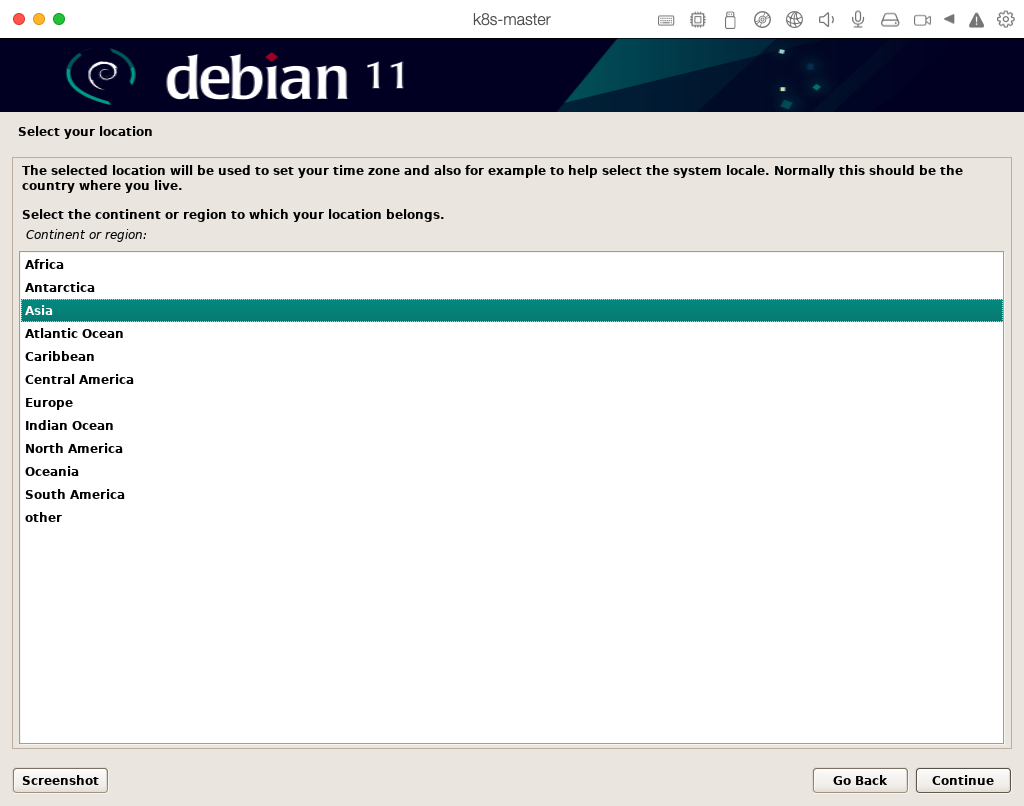
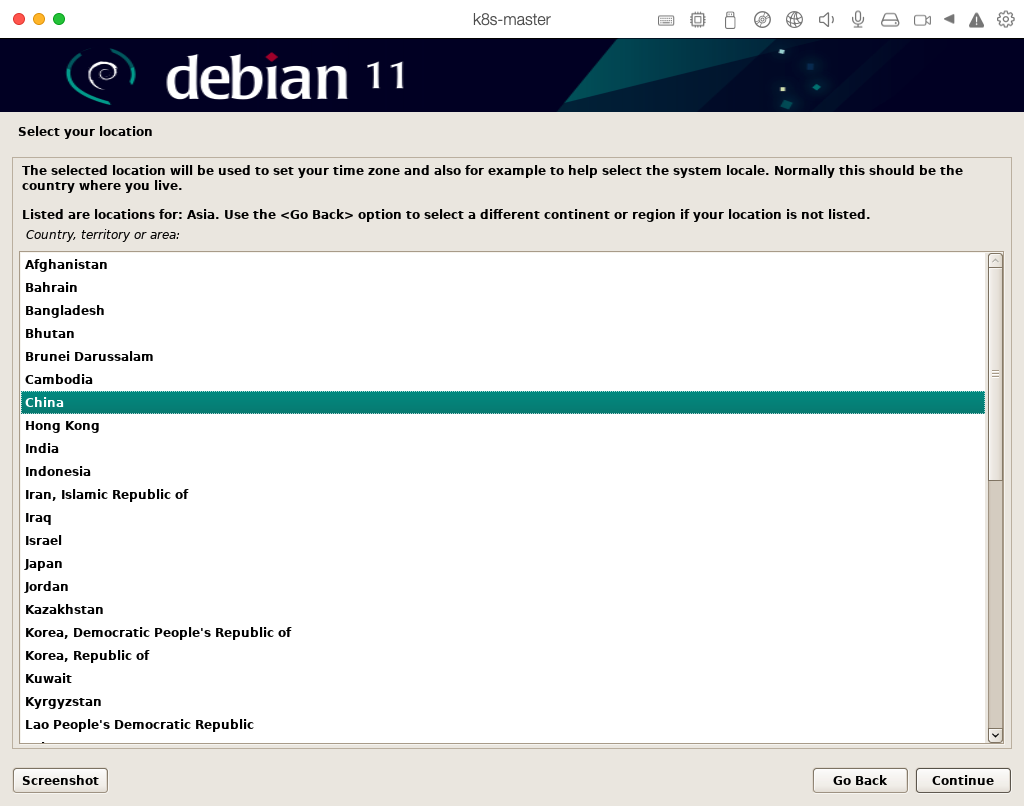
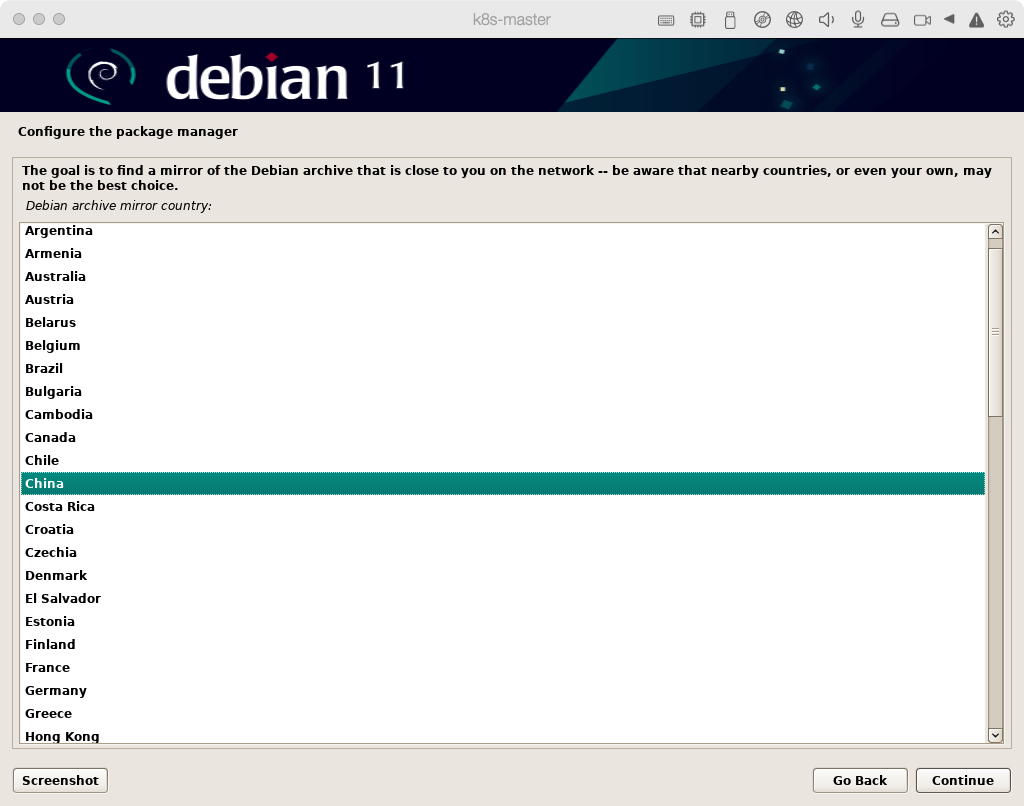
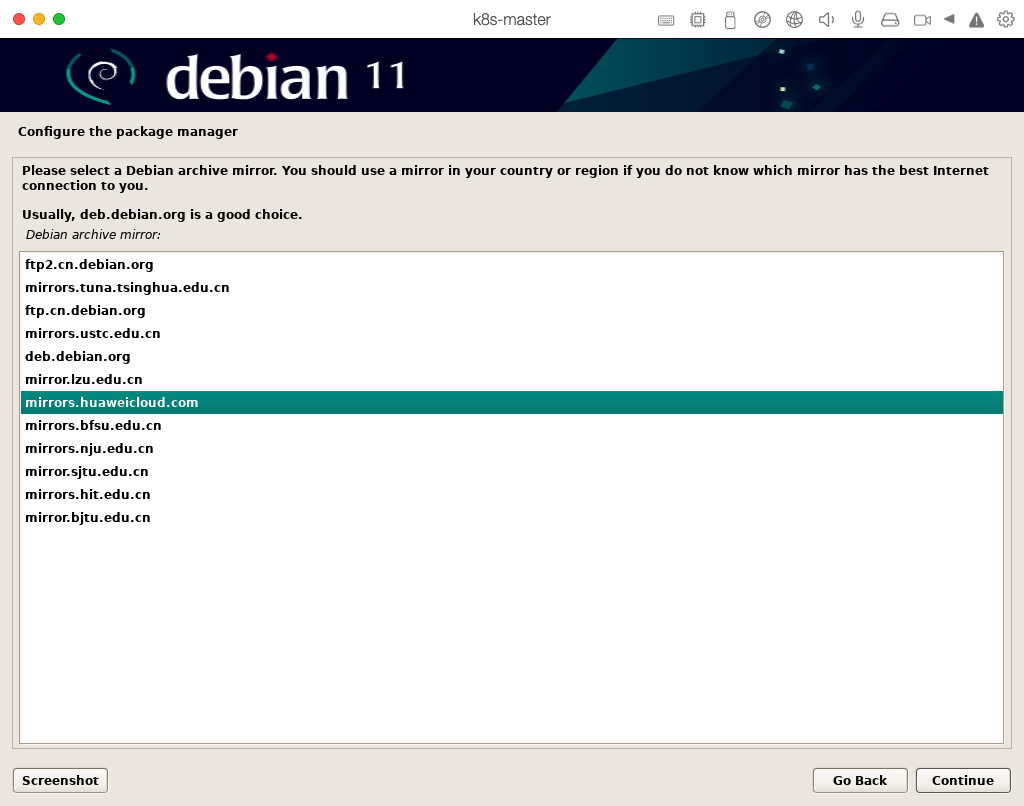
选择地区:other -> asia -> china

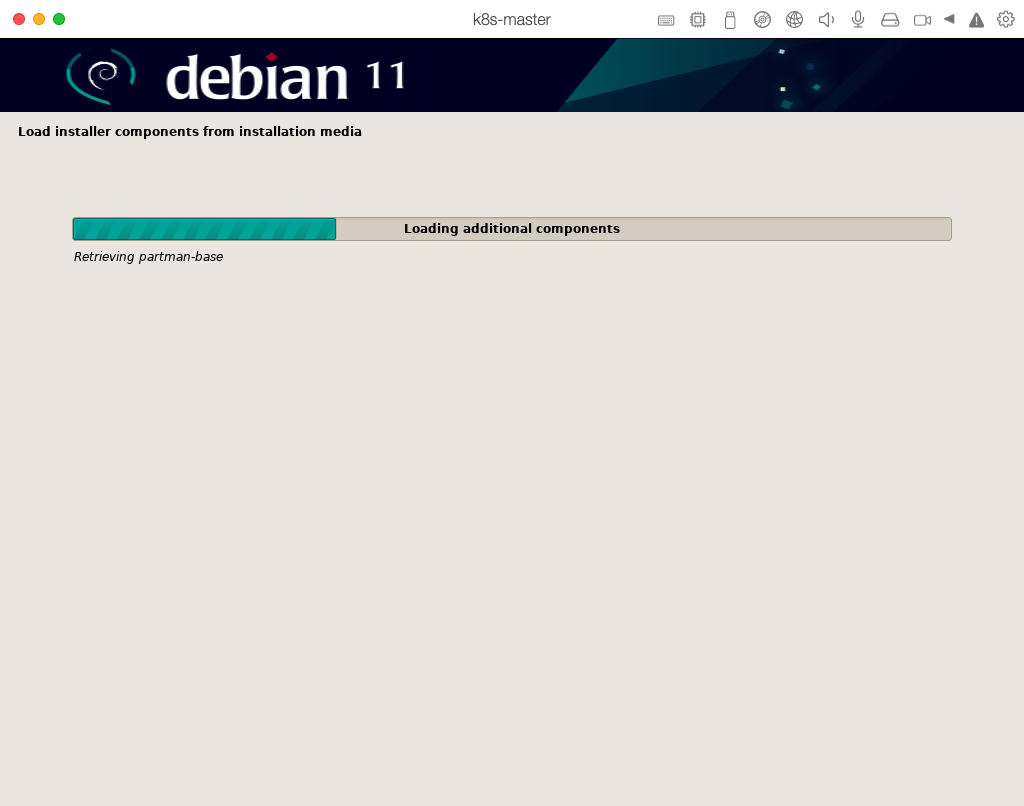
等待中
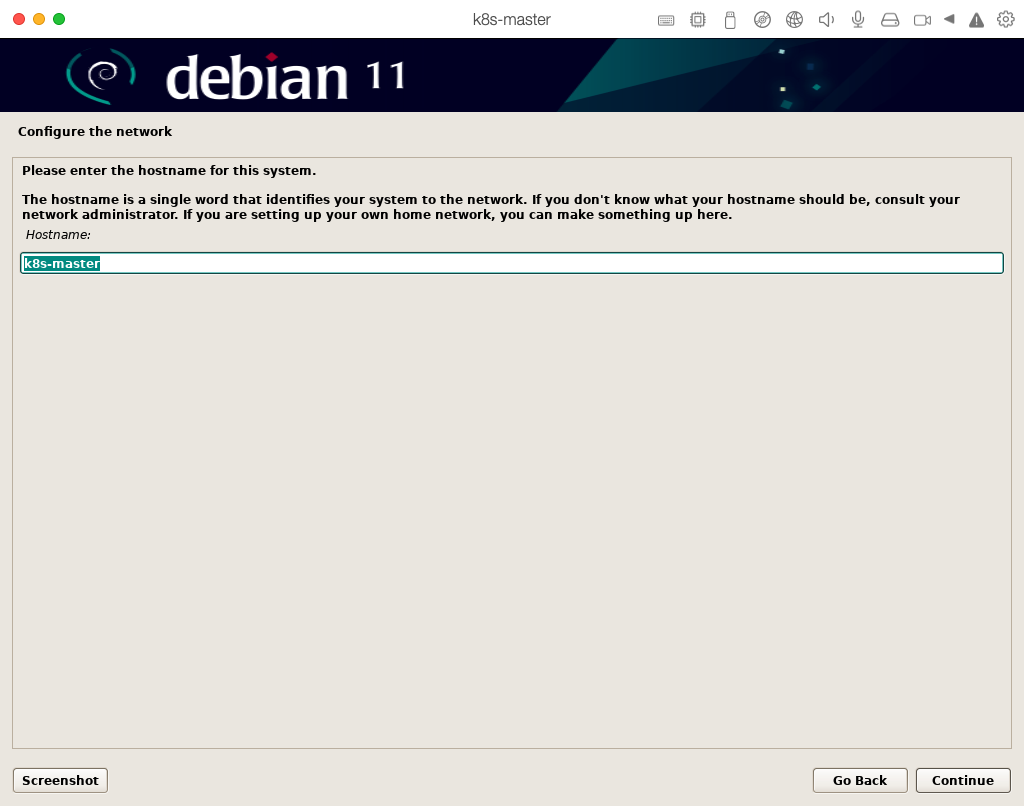
设置Hostname
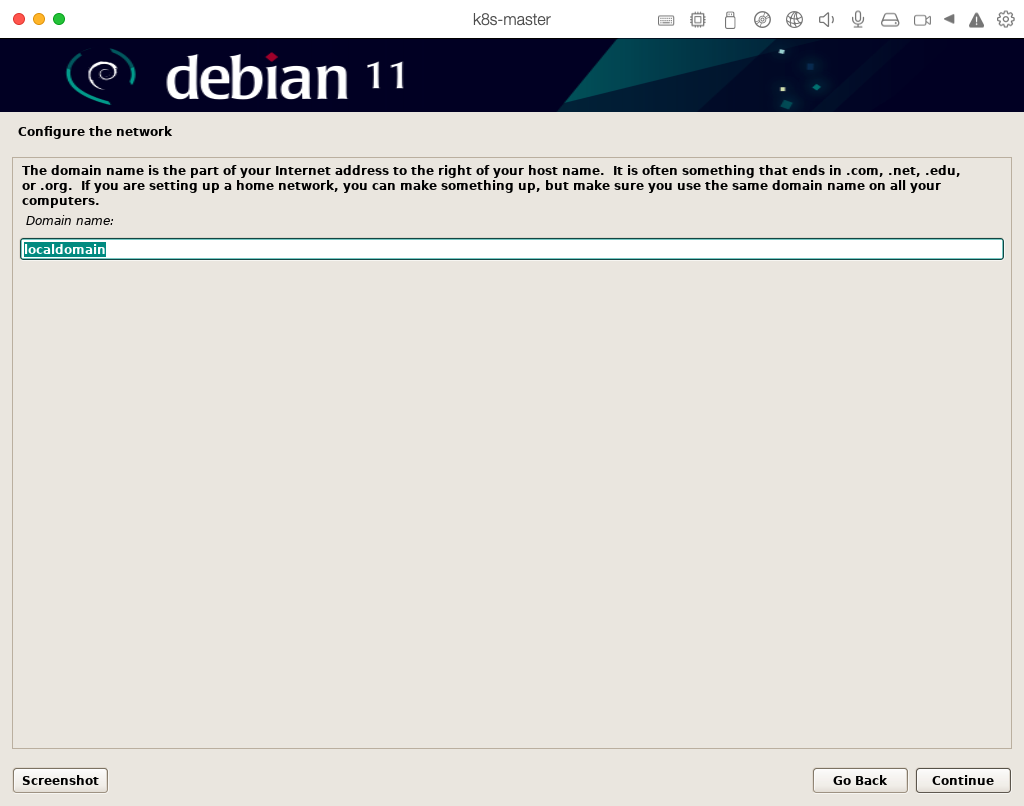
设置 Domain
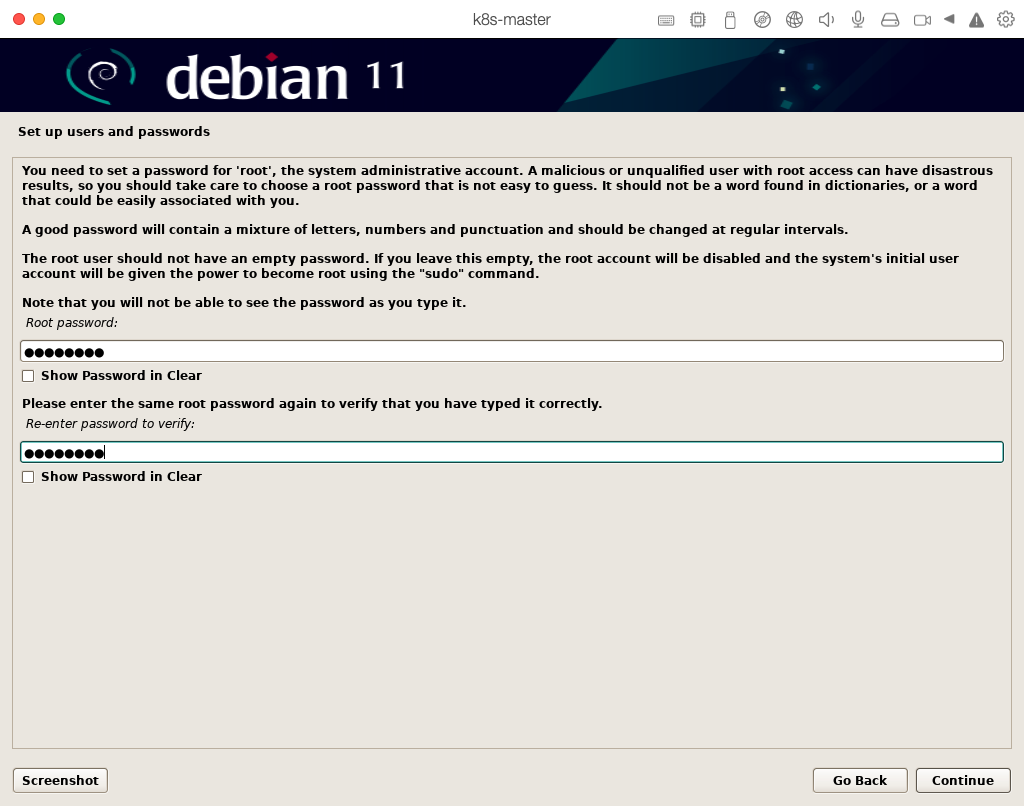
设置Root密码
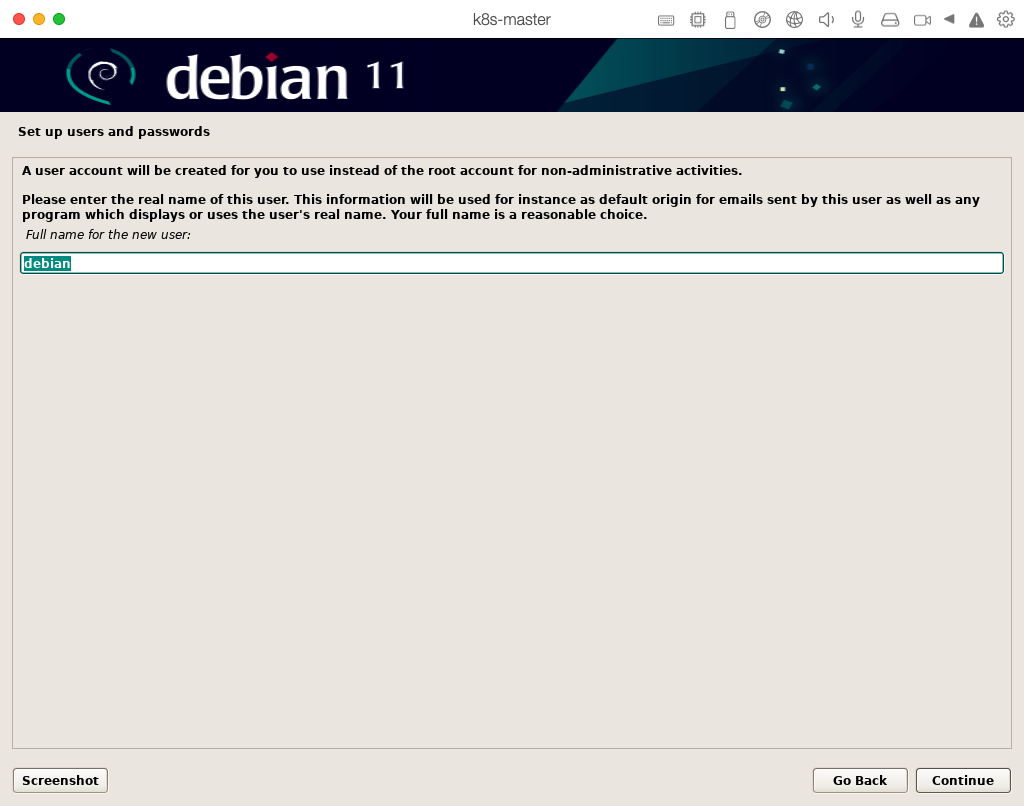
设置一个常规用户用于登录:

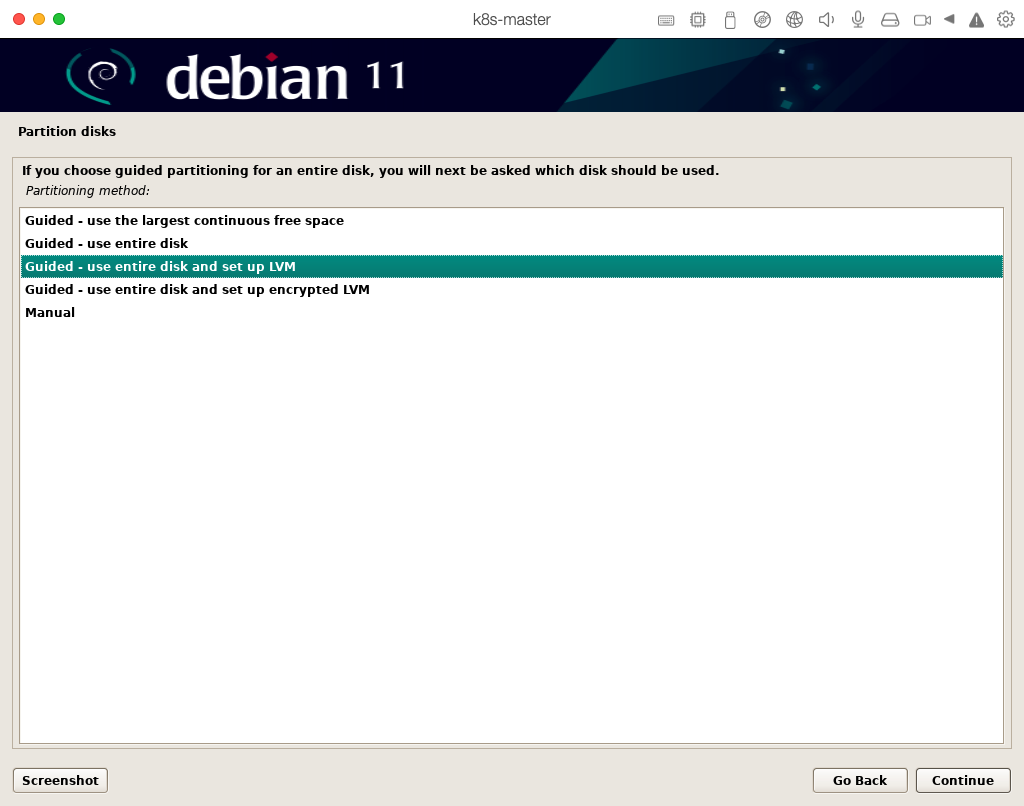
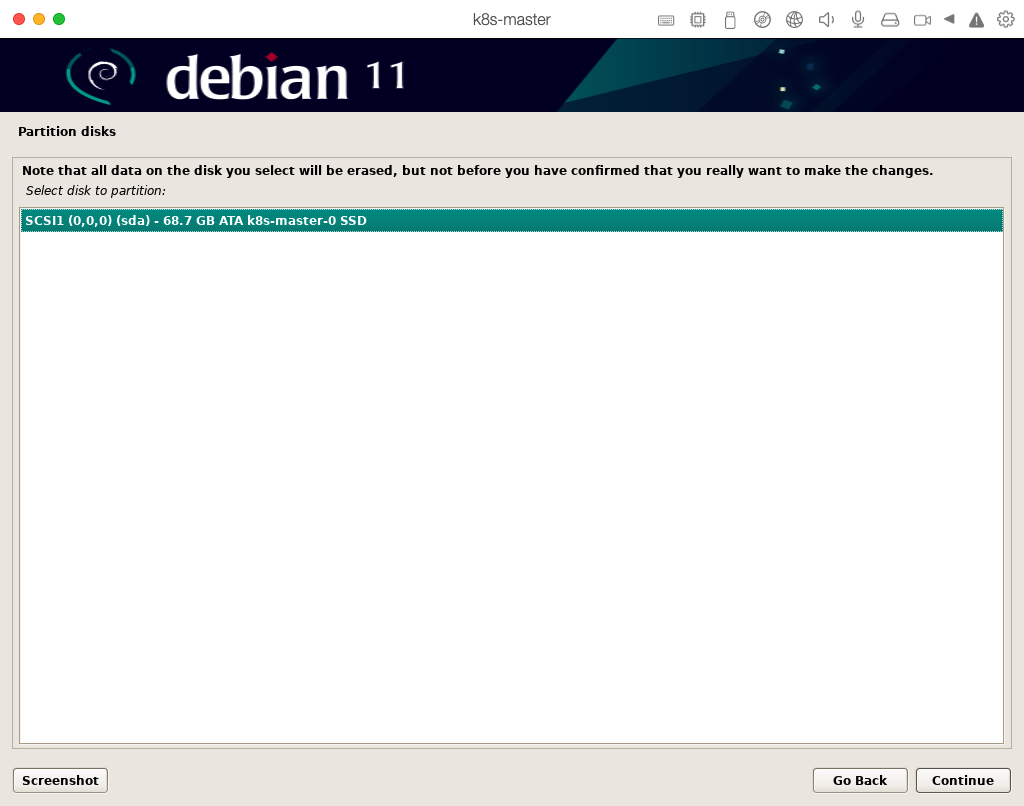
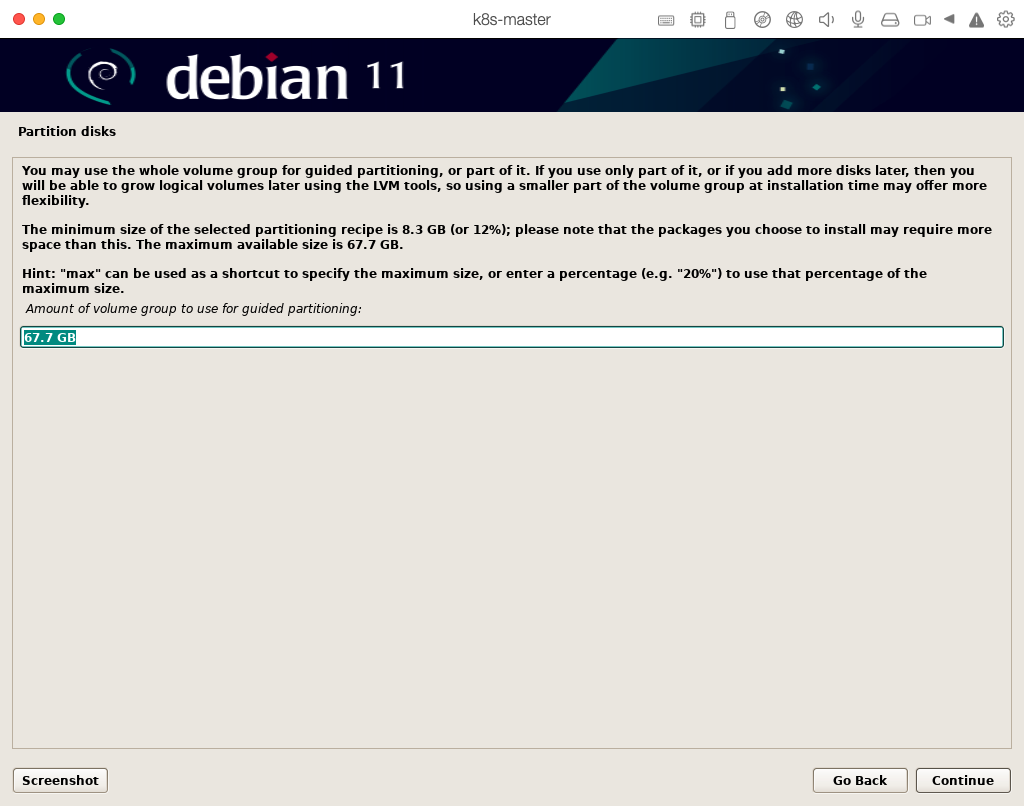
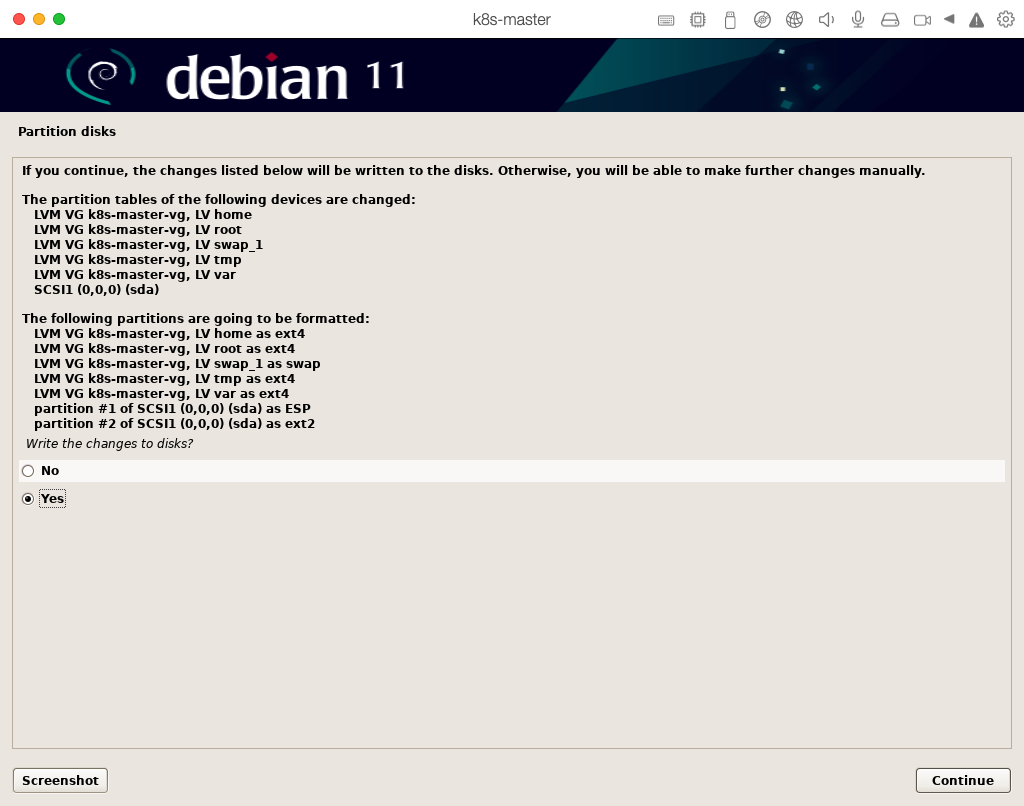
磁盘分区:如果是新手选择第一项。
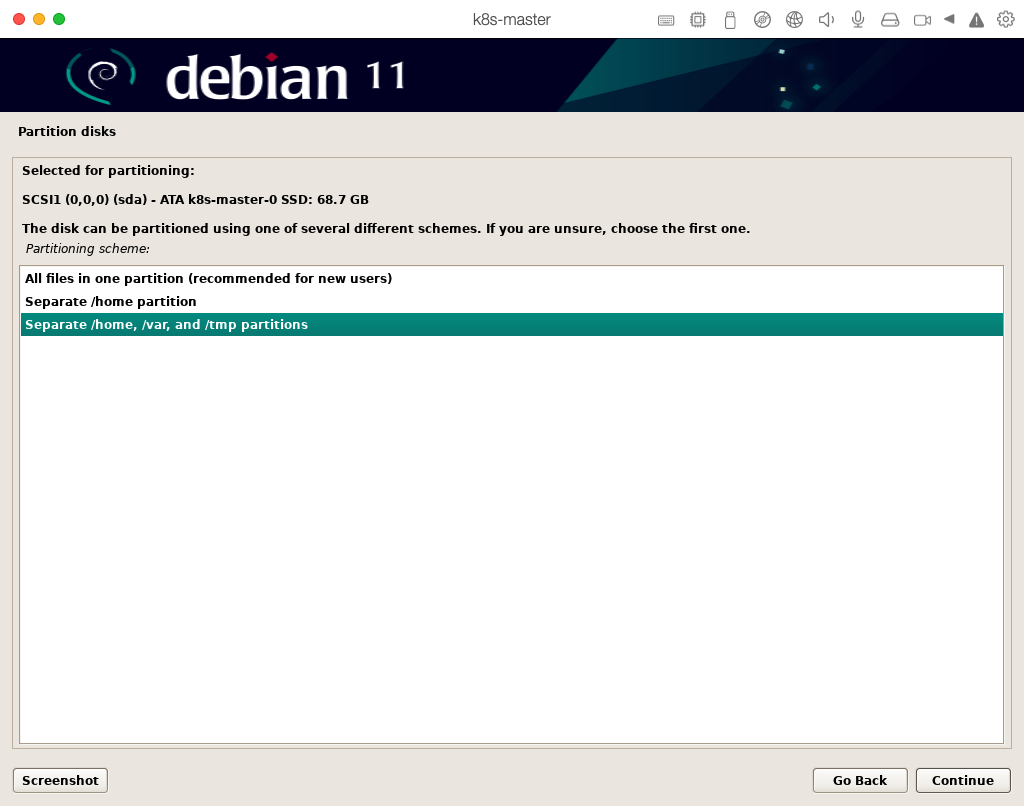
分区方案
分区类型     分区的实际大小
/           1G-2G (最少要150–250MB)
/boot       32M-100M (启动分区,最多只要100M左右)
/opt        100M-1G (附加应用程序)
/tmp        40M-1000M (最大可以设为1G左右,如果加载ISO镜像文件就设为4G左右吧,一般不用那么多)
/home       2G-10G (每个用户100M左右,具体自定。用户目录。)
/usr        3G-10G 最少要500M左右,一般宽松的服务器要分到4-6G)
/usr/local  3G-15G (自已安装程序安装在此)
/var        >2G–硬盘余下全部空间 ( 最少300M-500M,一般2-3G,做服务器的话把上面余下的空间都分给它)


不需要桌面系统

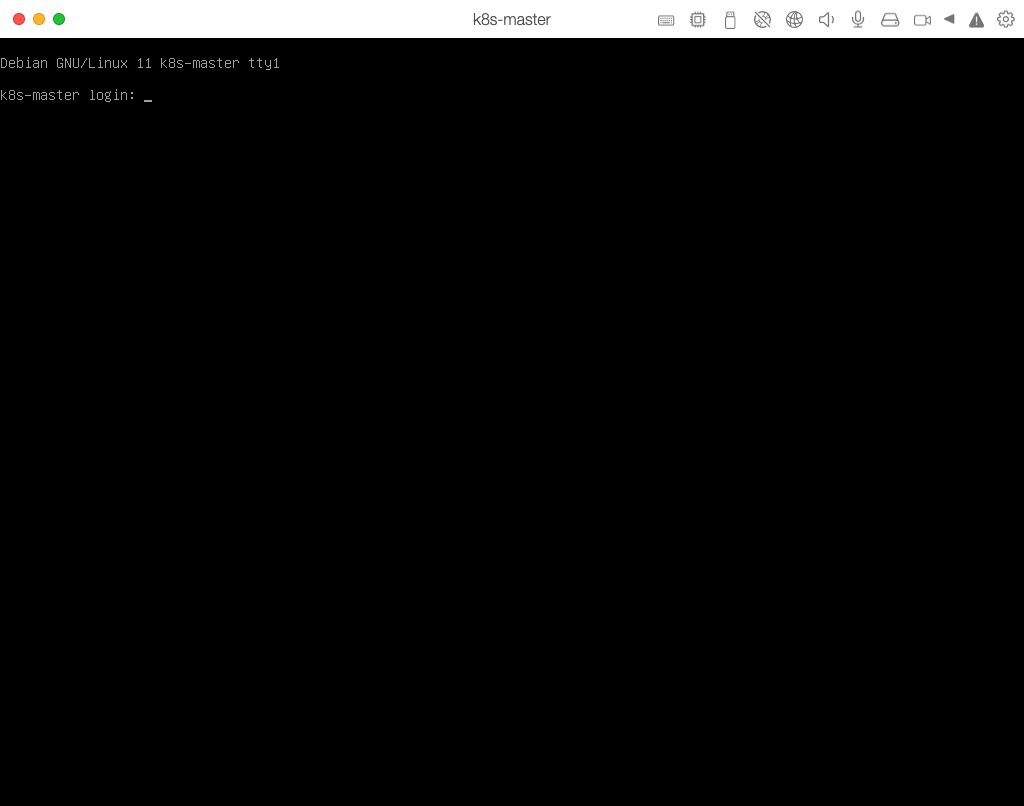
使用root登录系统
Root 用户远程登录
Debian 系统默认是不允许 root 用户远程登录。如果需要使用 root 用户远程需要更改 ssh 配置:
安装 vim
apt-get install vim
将PermitRootLogin 设置为yes,PasswordAuthentication设置为yes即可,:wq保存退出即可。
vim /etc/ssh/sshd_config

重启ssh服务
/etc/init.d/ssh restart
使用阿里镜像源
根据阿里文档选择适用于自己操作系统版本的镜像源。因为我的为 debian 11.x (bullseye) 所以我按 **debian 11.x (bullseye)**的文档进行配置。
备份原有配置
cp /etc/apt/sources.list /etc/apt/sources.list.back
配置阿里源
vim /etc/apt/sources.list
在文件前加入以下条目:
deb https://mirrors.aliyun.com/debian/ bullseye main non-free contrib
deb-src https://mirrors.aliyun.com/debian/ bullseye main non-free contrib
deb https://mirrors.aliyun.com/debian-security/ bullseye-security main
deb-src https://mirrors.aliyun.com/debian-security/ bullseye-security main
deb https://mirrors.aliyun.com/debian/ bullseye-updates main non-free contrib
deb-src https://mirrors.aliyun.com/debian/ bullseye-updates main non-free contrib
deb https://mirrors.aliyun.com/debian/ bullseye-backports main non-free contrib
deb-src https://mirrors.aliyun.com/debian/ bullseye-backports main non-free contrib
更新源:
apt-get update
网络配置
因我是使用虚拟机。默认使用虚拟的共享网络。暂无配置网络需求。